Step-by-step video guides built for specific bikes and specific problems. Clear enough for a first-timer. Detailed enough for someone who knows what they're doing.
Scroll
What We're Building
Structured. Specific. Reliable.
Glideaway Repairs is a repair guide platform built specifically for motorbike and ATV owners who want to understand their bike, not just throw parts at it.
Every guide is built around one bike model, one problem — combining a video walkthrough with a clear written breakdown, tools listed upfront, and every step verified by a mechanic who knows that engine.
We're starting with the Yamaha YZ125 and growing model by model. The goal is simple — make it straightforward for anyone to work on their own bike with confidence.
Built for Your Exact Bike
Every guide is written for one model. The steps, specs, and torque values are right for your engine — not a close enough approximation.
Video + Written Together
Watch the full walkthrough or follow the written steps — both are there, side by side, so you can work at your own pace.
AI-Assisted Diagnosis
Describe what your bike is doing and get directed straight to the right guide. No searching, no second-guessing.
Mechanic Verified
Every guide is reviewed by someone who has worked on that bike. Real experience, not just research.
How It Works
Simple Process. Real Results.
Find Your Bike
Browse by model. Every guide is filed under the exact bike it was built for — so you're always in the right place from the start.
Step 01
Pick Your Problem
Search by symptom or browse the guide library. Or use the AI diagnosis tool — describe what the bike is doing and get sent straight to the right fix.
Step 02
Follow the Guide
Watch the video, follow the steps, get the job done. Tools are listed upfront. Every step is written clearly. No experience needed to get started.
Step 03
General Maintenance
Keep Your Bike Running Right.
Four things every dirt bike owner should know how to do — regardless of model, regardless of experience level.
01
Spark Plug Checks
Your spark plug tells you everything about how your engine is running. Pull it, read it, and act on it.
Remove the plug with the correct socket — usually 14mm or 18mm. Let the engine cool first.
Light tan or grey = healthy. Black and sooty = running rich, check jetting and air filter. White or blistered = running lean, could damage the engine.
Check the electrode gap with a feeler gauge. Most 2-strokes run 0.5–0.6mm. 4-strokes typically 0.7–0.9mm — check your manual.
Replace every season or sooner if the electrode is worn or the ceramic is cracked. A fresh plug is cheap insurance.
02
Chain Lubrication
A dry chain wears fast, wears your sprockets, and can snap. Keep it clean and lubricated and it'll last.
Clean the chain first — use a chain brush and degreaser to remove old lube, dirt, and mud. Let it dry completely before applying fresh lube.
Apply chain lube to the inside of the chain (the side that contacts the sprocket) while slowly rotating the wheel. Let it work into the links.
Wipe off the excess — too much lube attracts dirt and turns into grinding paste over time.
Lube after every ride in wet or muddy conditions. Dry conditions — every 3 to 4 rides minimum.
03
Chain & Sprocket Inspection
Worn chain and sprockets don't just affect performance — they're a safety issue. Knowing what to look for takes two minutes.
Chain slack: Push up on the middle of the lower chain run. Most bikes should have 35–45mm of free play. Check your manual for the exact spec.
Chain stretch: Pull the chain away from the rear of the sprocket. If you can see more than half a tooth, the chain is worn and needs replacing.
Sprocket teeth: Healthy teeth are symmetrical and squared off. Worn teeth look hooked, sharp, or like shark fins — replace immediately.
Always replace chain and both sprockets together. Mixing a new chain onto worn sprockets accelerates wear on everything.
04
Checking for Spark
If your bike won't start, checking for spark is one of the first things you do. It takes under two minutes and tells you a lot.
Remove the spark plug and reconnect it to the HT lead (the rubber cap). Don't hold the plug with your bare hand.
Ground the plug against the engine case or frame — metal to metal contact is essential or the test won't work.
Kick the engine over (or hit the starter) and watch the plug. A healthy spark is bright blue and sharp. Orange, weak, or no spark means an ignition problem.
If there's no spark — check the kill switch is off, inspect the HT lead for cracks, and test the coil. If all that checks out, the CDI unit may be faulty.
First Model Live
YZ125 Guides Are Ready.
First guide live now with more dropping regularly. Each one built, filmed, and verified specifically for the YZ125.
Model Library
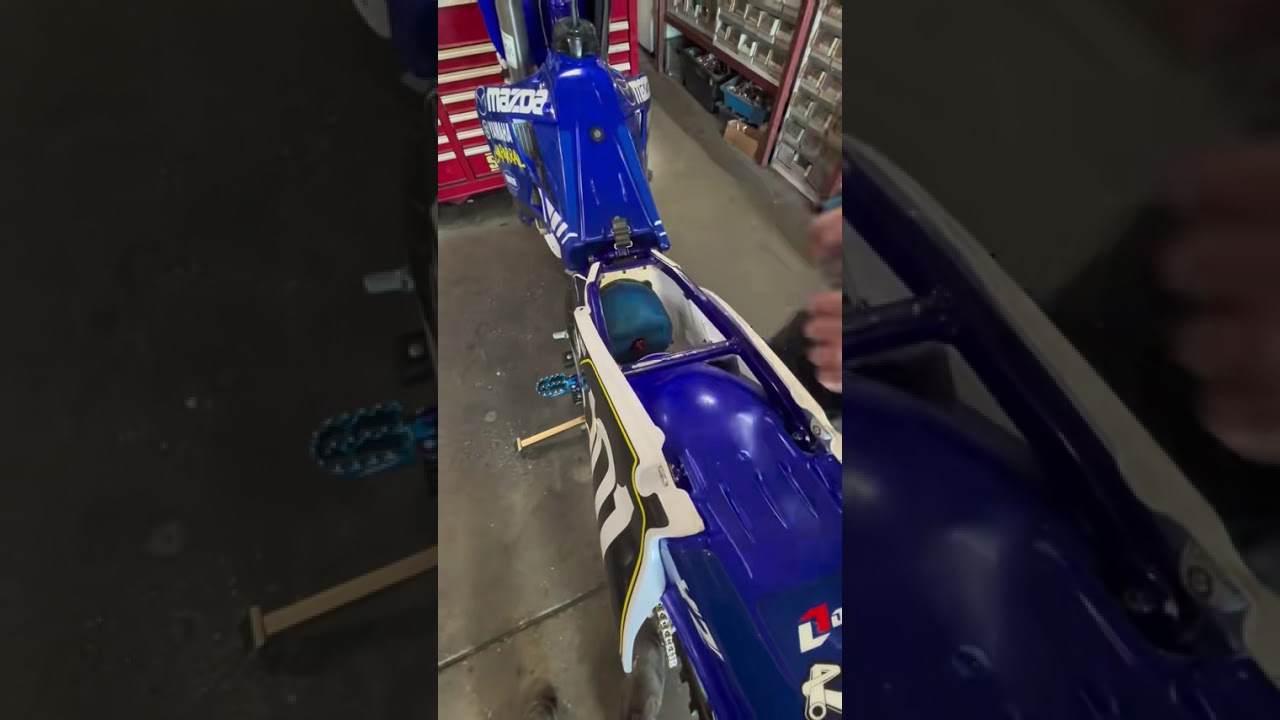
Yamaha YZ125
Video guides built specifically for the YZ125 — covering the repairs that matter most. Every guide is filmed by a mechanic, written clearly, and ready to follow from the first step to the last.
Yamaha YZ1252-Stroke● Guides Live
Repair Guides
● Live
Watch on YouTube ↗
2000 Yamaha YZ125 — Basic Service
Full basic service walkthrough on a 2000 YZ125. Covers everything you need to keep it running right — the ideal starting point before any deeper diagnosis.
Coming Soon
Carburettor Clean & Rebuild
Full strip-down, jet cleaning, needle clip adjustment and reassembly. The most common fix on a 2-stroke that runs rough or won't idle.
More Guides Weekly
New YZ125 guides dropping regularly. Want to vote on what we cover next or request a different bike?
What's Coming Next
You Tell Us What to Build.
We're building this out guided by what riders actually want. Vote for the next bike, drop us a request, and we'll let you know when it goes live.